Who does not enjoy a napolitaine with tea or coffee? This biscuit has won the hearts of Mauritians and the rest of the world since a few centuries ago. In this article, we will learn about its history, an exclusive easy step-by-step recipe from Hus Baking Fantasy, and why it deserves to be recognized as a national heritage.
From The French Era
The French settled in Mauritius in 1715, but economic and development activities began in the 1720s. Obviously, they combined their succulent culinary ideas with their cultures. It is believed that napolitaine originated during the French era. As you are aware, the French have a diverse range of desserts, including the well-known croissants.
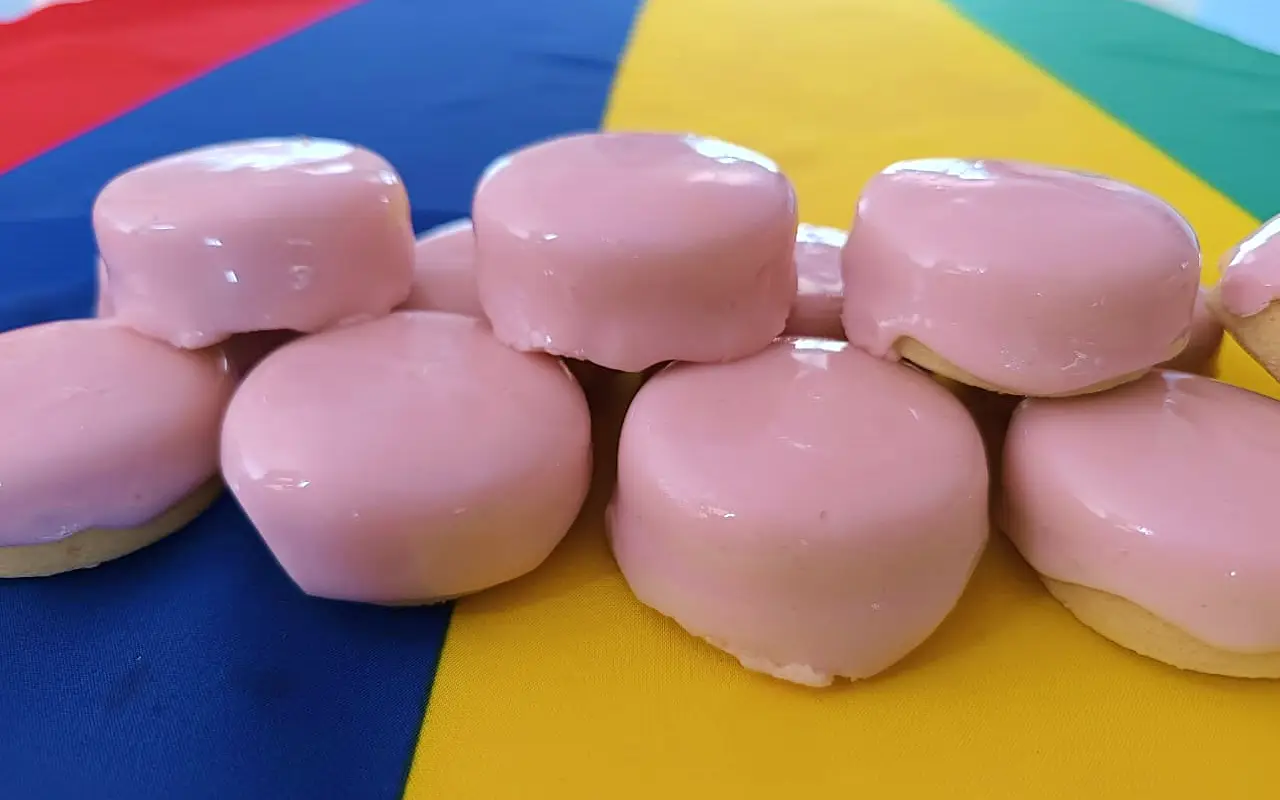
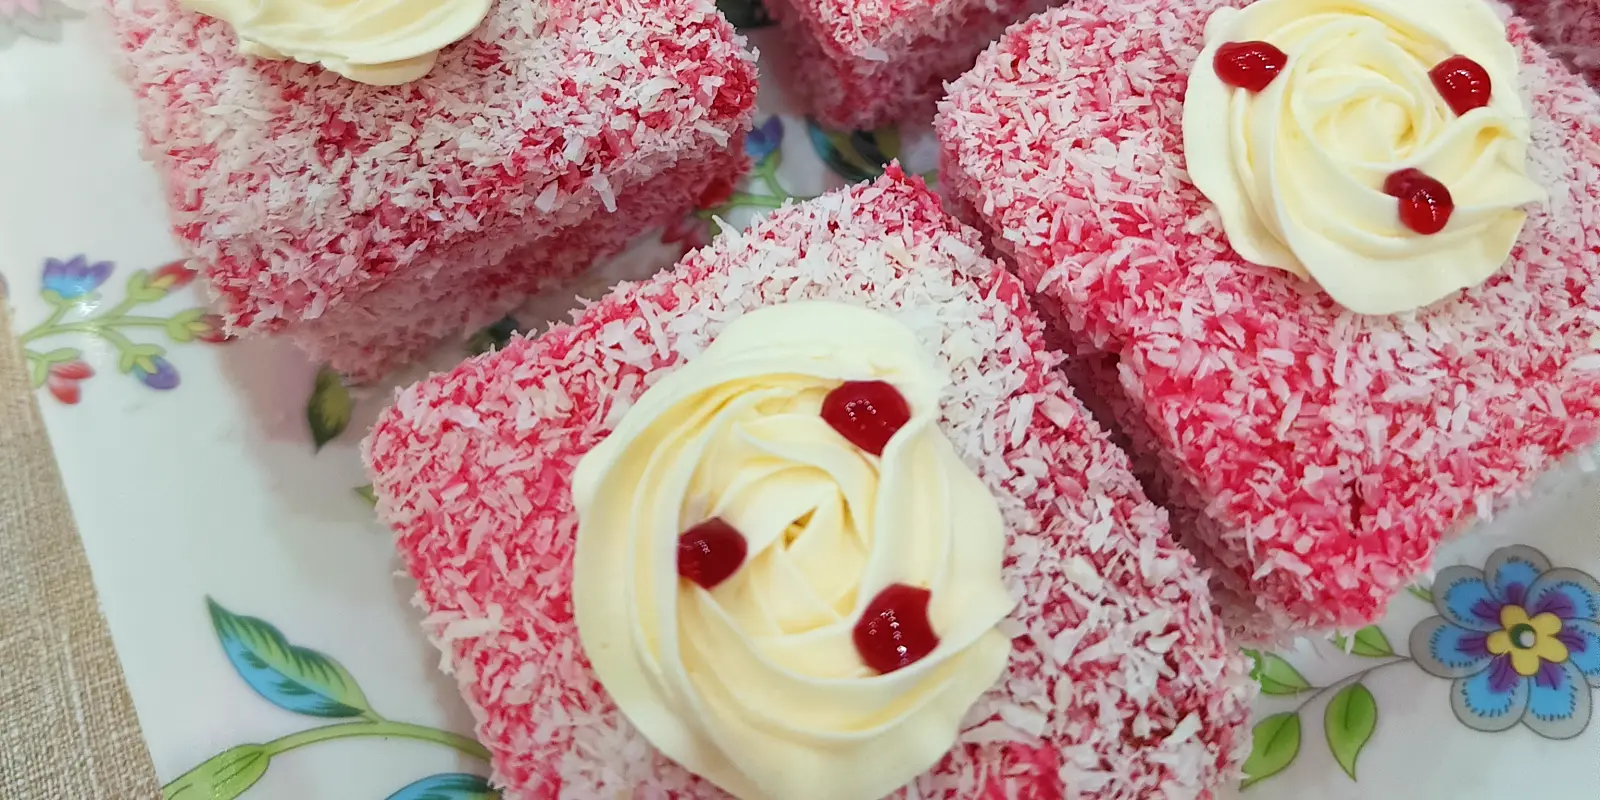
Napolitaine is a pair of shortbread cookies sandwiched together with jam or cream and topped with a thick sugar icing in various colors. The most traditional is pink on top with strawberry jam in the middle. Nowadays, there are many different types of napolitaines, some of which are decorated. Those who do not like the sugar icing on top may prefer napolitaine with coconut flakes.
It is usually served with tea or coffee. Napolitaines are also served on special occasions like weddings and parties.

Step-By-Step Napolitaine Recipe
Husnah B.N Djarlo has a passion for baking. We can say that baking is in her blood. She has a Facebook page called Hus Baking Fantasy, where she shares all of her cakes. Below is a step-by-step recipe for napolitaine, which she has graciously shared with us today.
We will divide the ingredients into three parts: cookies, filling, and glazing. They are as follows.
Cookies:
- 350g unsalted butter.
- 500g plain flour.
- ½ teaspoon of salt.
Filling:
- Strawberry jam.
Glazing:
- 3 cups of icing sugar or more.
- 7 to 8 tablespoons of water.
- Food coloring.
STEP 1: After your ingredients are in place, let’s move onto the dough preparation.
- Begin by adding butter to the flour, incorporating them until a crumbly mixture forms.
- Knead the mixture until it transforms into a soft, smooth dough. Adjust consistency if needed. Add more butter if the dough is too dry or more flour if the dough is too sticky.
- After that, chill the dough by wrapping it in cling film and refrigerate for 30 minutes. This step eases handling and enhances the dough’s workability.
STEP 2: After 30 minutes of chilling, it is time to roll and shape.
- Prepare the working surface, by dusting with flour to prevent the dough from sticking.
- Roll out the chilled dough to a thickness of ½ cm to 1cm, depending on how you like the thickness, ensuring an even surface.
- Create the shape. Use a cookie cutter to press into the flattened dough, creating a biscuit shape. You can make any shapes you want.
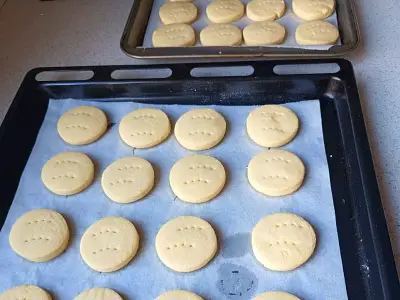
- Arrange on a tray. Transfer the cut shapes onto a prepared tray lined with parchment paper.
- Utilize the leftover dough to create more biscuit shapes, depending on the number you want.
Dough Preparation
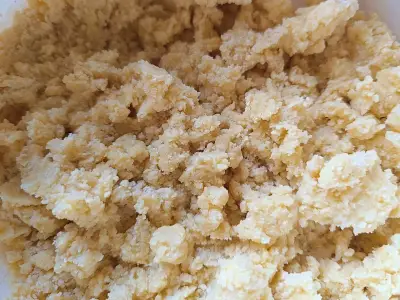
Dough Kneading
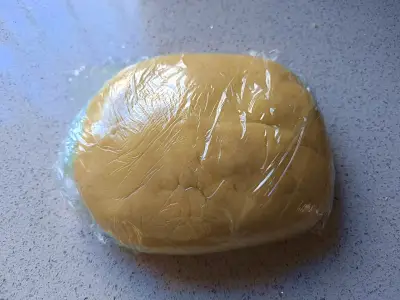
Dough Rolling
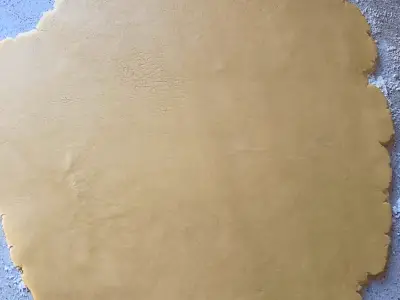
STEP 3: Now, it is time to bake the biscuits you shaped.
- Preheat your oven to 180˚C.
- Bake the cookies for 12–15 minutes. Keep a watchful eye, as baking times may vary depending on your oven type. Do not allow cookies to turn brown, aim for a cream or slightly brown colored cookies, depending on your preferences.
- After the baking time is over, allow the baked cookies to cool completely on a wire rack.
STEP 4: Next, the filling process.
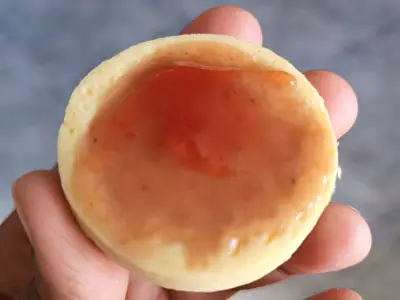
- Once cooled, spread a generous layer of strawberry jam (or any of your preferred jam) on the flat side of one cookie and sandwich it with another.
Create Cookie Shape
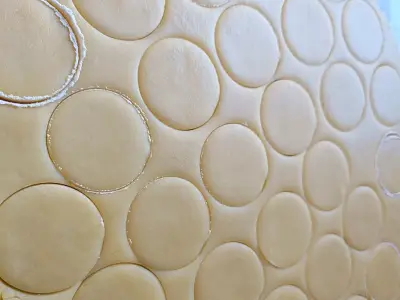
Place Cookies On Tray
Add Strawberry Jam
STEP 5: It is time for glazing.
- In a mixing bowl, combine icing sugar with water, stirring until a smooth glaze consistency is achieved. Adjust the thickness by adding more sugar if it is too runny or more water if it is too thick.
- Add some food coloring to the glaze to add a touch of color.
- Place a wire baking tray over a large plate. This setup ensures any excess glaze drips onto the plate, maintaining a tidy workspace.
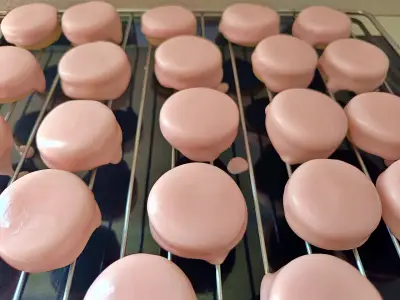
- Move the cooled cookies onto the wire rack. Pour the glaze over each cookie, allowing any excess to drip onto the plate below.
- Allow the glaze to harden at room temperature. This process enhances the texture and flavor.
FINAL STEP: Enjoy!
- Once the glaze has set, indulge in these simple yet delightful Napolitaines. Share the joy, or savor them for a sweet moment all to yourself. Enjoy!
Time For Glazing

Everything Is Ready
Napolitaines, A National Heritage?
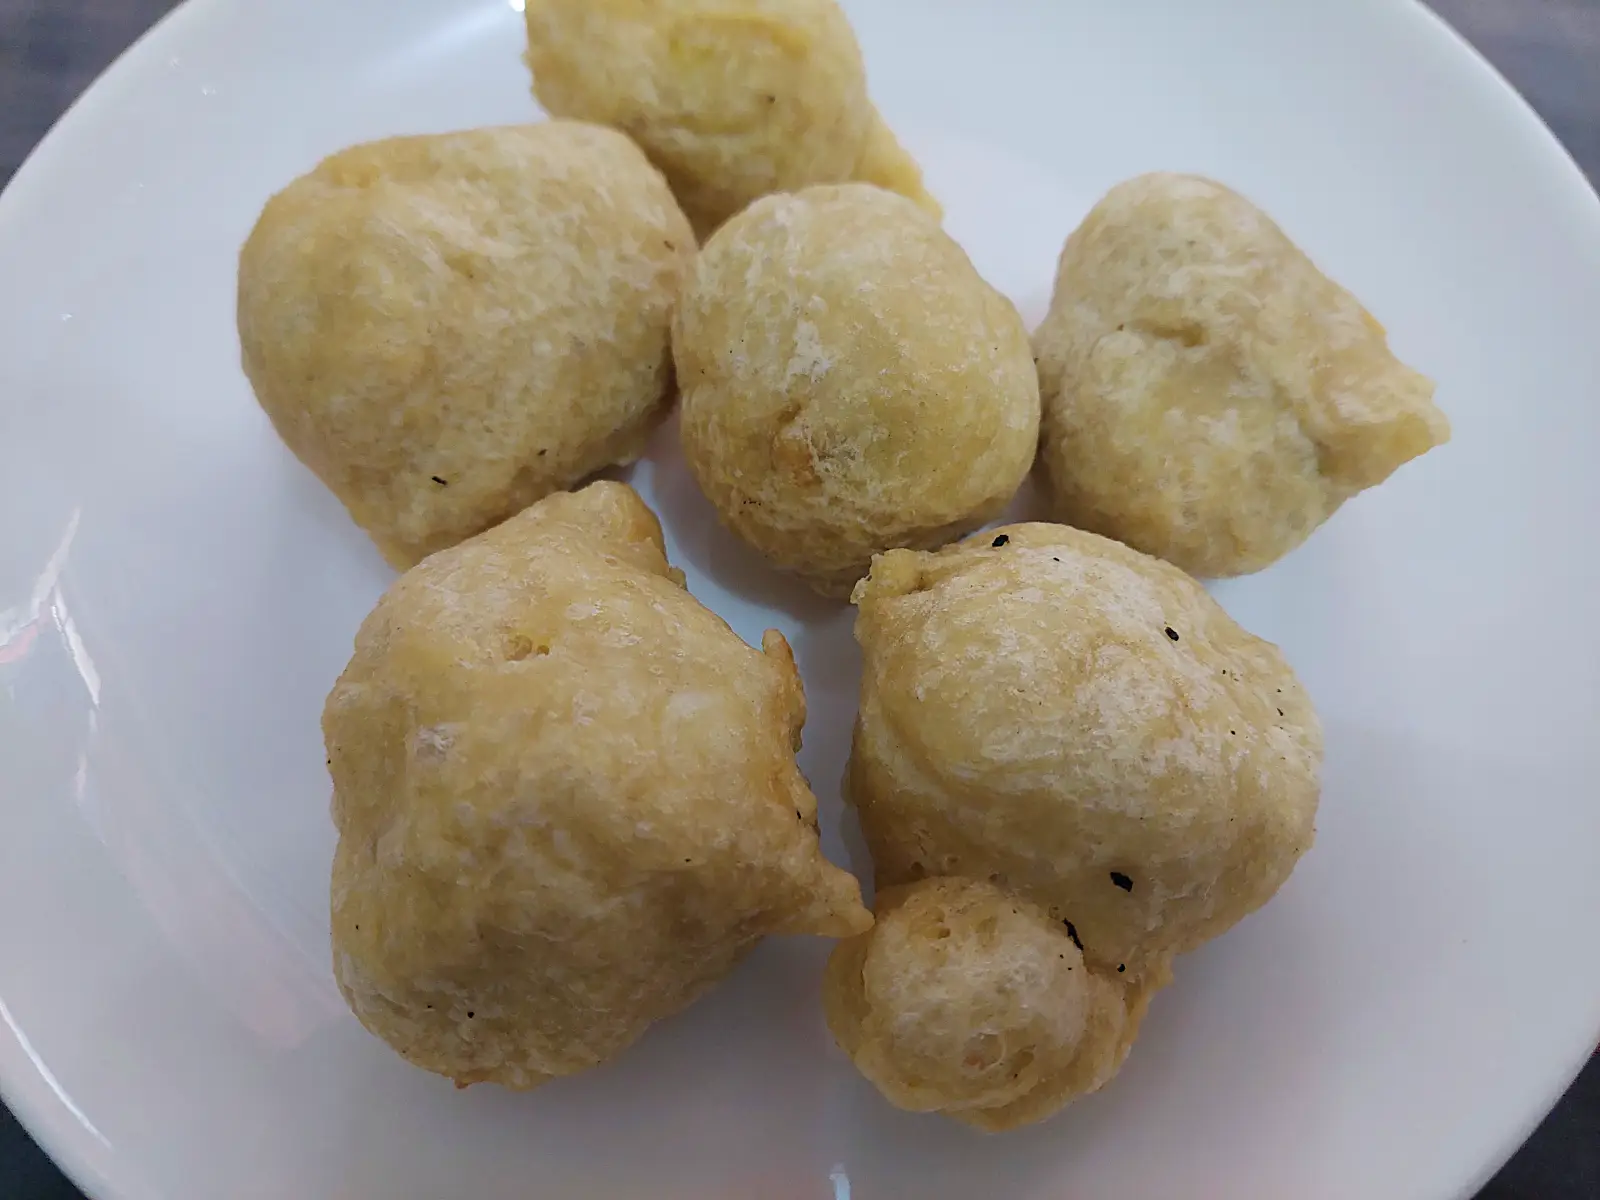
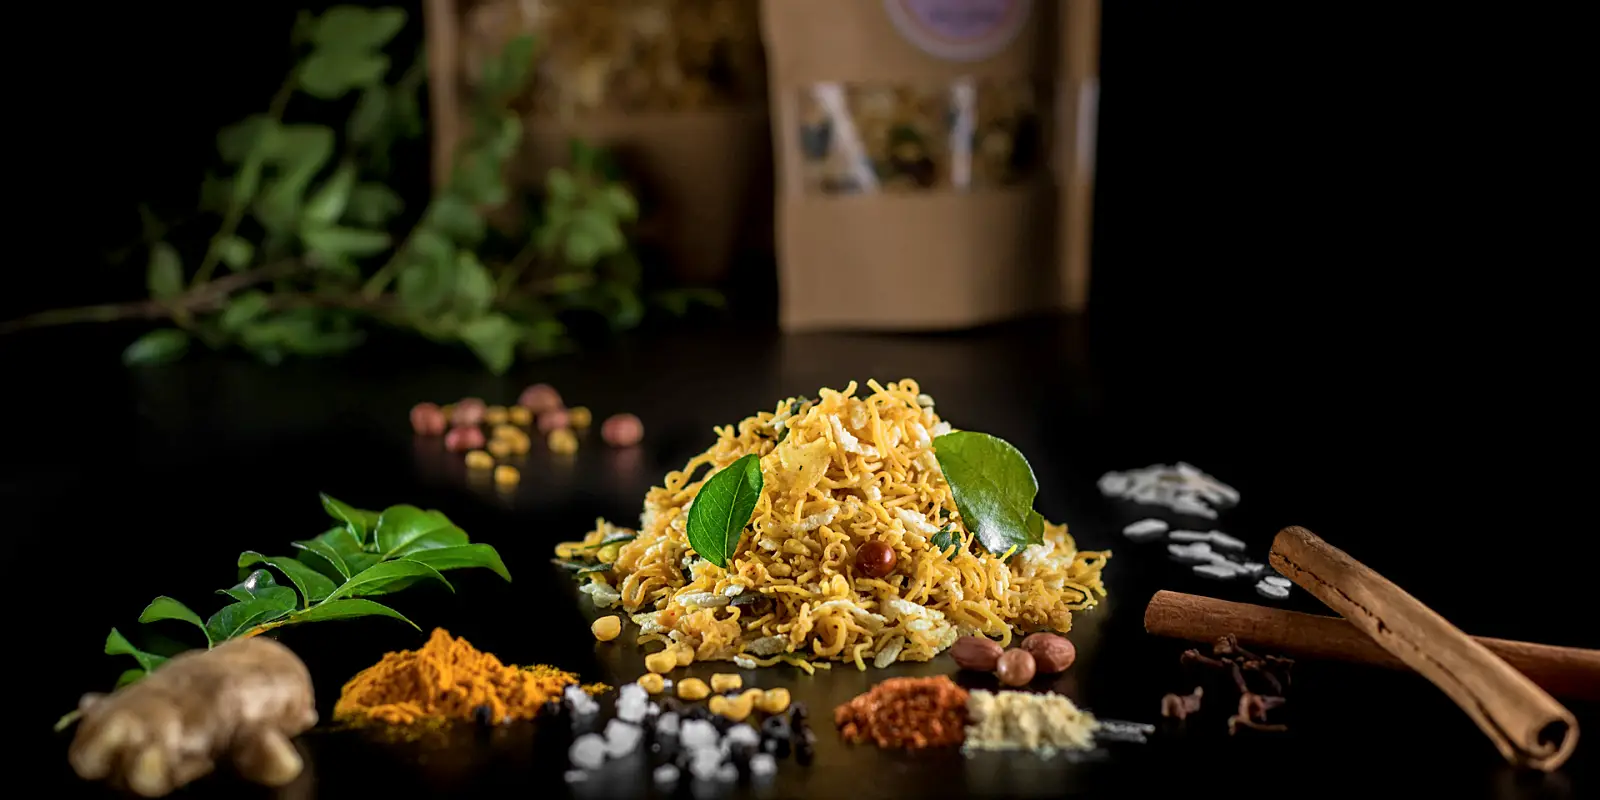
There are numerous local foods that have been part of our lives for decades, if not centuries. Faratha, fried noodles, the famous “gato pima,” and other dishes brought by our ancestors have since become part of our local cuisine, along with napolitaines. Selena LeRoux, 22 years old, a passionate advocate for Mauritius’ cultural heritage, proposed to the authority that napolitaine be listed as an intangible national heritage. She was determined to fulfill her wish, but she passed away in December 2023. Now, her father, Christophe LeRoux, intends to continue her project.
Whether napolitaine should be considered an intangible national heritage or not, we can say that this dish has captured the hearts of Mauritians.
Author & References

Author: Ali J | Date Published: March 22, 2024 | Last Updated: NA
Special Thanks: Hus Baking Fantasy & Christophe LeRoux.
Subscribe For Newsletters
Not just newsletters, but you may enjoy free vouchers, coupons, activity deals and many others while subscribing…

