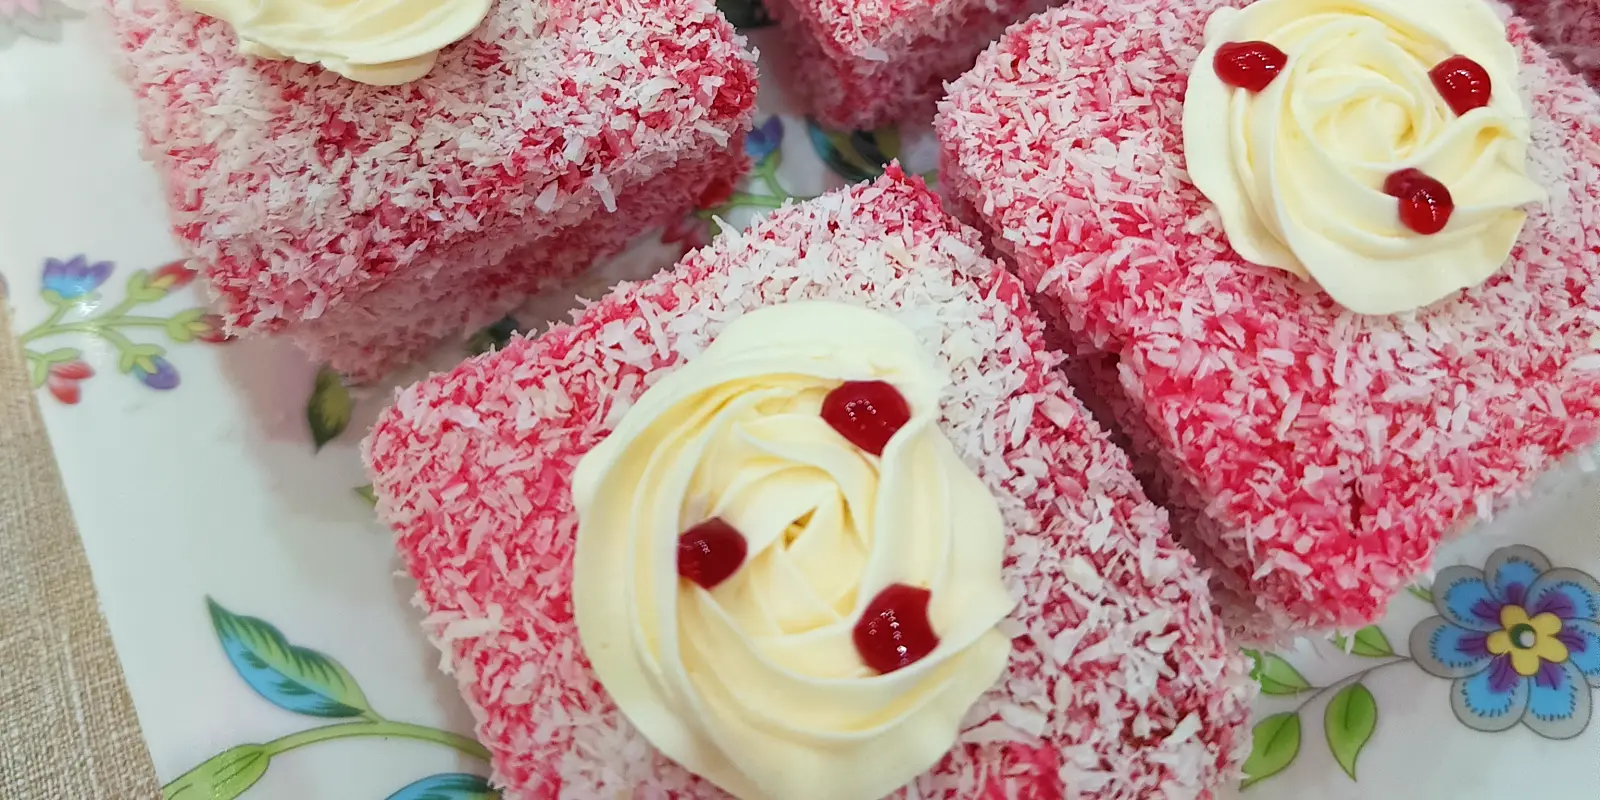
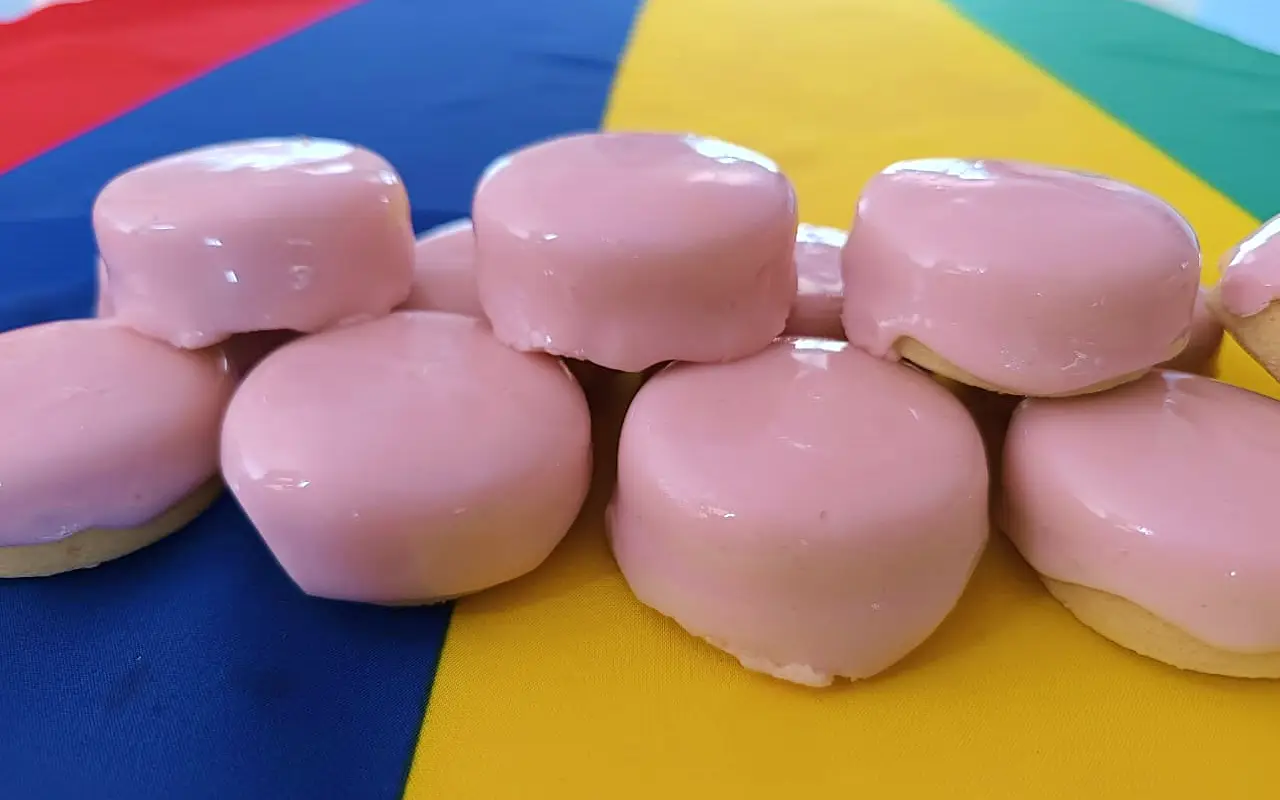
It is commonly believed that the Carré Rouge is originated from Mauritius. Unfortunately, it is not the case. What we have in Mauritius is a variant of the Lamington cake, which is originated from Australia. The cake is also known as Jam Francis here.
Origin Of Lamington Cake
Originally from Australia, the dessert is named after Lord Lamington. At the end of the 19th century, he served as the Governor of Queensland. According to certain academics, the name may have been derived from his wife. The Lamington cake is a sponge cake that is topped with coconut and includes the option of adding jam. Variants vary across nations. The French suggest a new cake texture, and in Mauritius, we follow likewise, and it differs slightly from the Australian version.

Step-By-Step Carré Rouge Cake Recipe
This recipe has been in collaboration with Husnah B.N Djarlo, who has an extreme passion for baking. She has also provided a step-by-step recipe on Napolitaines. She has a Facebook page called Hus Baking Fantasy, where she shares all of her cakes. Below is a step-by-step recipe for Carré Rouge cake, or Jam Francis as some know it.
We will divide the ingredients into three parts: butter sponge cake, coating, and jam & cream. They are as follows.
Butter Sponge Cake:
- 300g unsalted butter (Softened).
- 400g of self-raising flour.
- 250g caster sugar.
- 2 teaspoon vanilla extract.
- 8 eggs (Keep in room temperature).
Coating:
One small packet of strawberry jelly powder.
3–4 cups desiccated coconut.
Jam & Cream (Optional):
- 1 tablespoon of white sugar.
- Half cup of whipping cream.
- Strawberry jam.
STEP 1 (Butter Sponge Cake):
- Preheat your oven to 180°C.
- Grease a 20 cm x 30 cm cake pan and line it with baking paper, leaving an overhang on all sides for easy removal.
- In a large mixing bowl, beat the butter and sugar with an electric mixer on medium-high speed until light and fluffy, about 1.5 to 2 minutes.
- Add the eggs one at a time, beating well after each addition until the batter is smooth and not curdled.
- Mix in the vanilla extract.
- Gradually add half of the self-raising flour and gently fold to combine, then stir in the remaining flour until fully incorporated.
- Pour the batter into the prepared pan and bake for 25–28 minutes, or until a skewer inserted into the center comes out clean.
- Let the cake stand for 5 minutes, then use the overhanging baking paper to lift the cake onto a wire rack to cool completely.
Butter Sponge Cake Ingredients

Add Unsalted Butter

Add Sugar

Add Eggs & Flour

Continue To Mix

Pour The Batter In A Pan

STEP 2 (Coating): Once the cake is completely cool, cut it into 15 squares (5 x 3) or 18 rectangles. Optional: You can freeze the cut pieces for 30 minutes to 1 hour, to ease the coating process (Refer to Note 1 below).
- Prepare the jelly powder as directed on the package (Refer to Note 2 below).
- Place coconut in a shallow bowl or pan with a largish surface area.
- Place a portion of the jelly liquid in a shallow bowl or pan. Do not use everything at a time, place the pan back on the stove.
- Dip the cut pieces in the liquid, coat all 5 sides except the bottom.
- Transfer it into the coconut and quickly roll to coat all over in coconut. Transfer to tray (Refer to Note 3 below).
- Repeat with remaining sponges.
- Beat the cream together with the sugar till firm peaks form (Refer to Note 4 below).
- Place the cream in a piping bag with your desired type of nozzles and proceed to decorate the top of the cake with any design.
- Place the strawberry jam in a piping bag and put small dollops on the cream in any desired way.
- Place in refrigerator for 1 to 2 hours, or until set.
The baked Sponge Cake

Gather The Jelly & Coconut

Jelly & Cream

Note 1:
Trying to coat a freshly cooked cake will not work, it just crumbles into the jelly and makes a mess. The easiest way to coat the cake is by cutting into pieces and freeze just prior to coating. The frozen cake is much easier to handle for the dipping / coconut coating steps.
Note 2:
I prefer adding more water, approximately 100ml more, when boiling the jelly powder to prevent it from setting up too quickly while doing the coating.
Note 3:
Do not be tempted to first glaze all the cake squares with the jelly and then roll them into the coconut. Make them one by one, first jelly, then coconut, and so on.
Note 4:
If you do not want to use whipping cream, you can replace it with a simple vanilla buttercream.


Best Served With Tea
Tea goes well with this dessert. Okay, coffee lovers can also enjoy it with their coffee. On top of that, this cake can be served on any event. Once more, I want to thank Husna for taking the time to write such a great recipe for us. Please, like her Facebook page: Hus Baking Fantasy, and follow her cake posts.
Author & References

Author: Ali J | Date Published: July 2, 2024 | Last Updated: NA
Special Thanks: Hus Baking Fantasy.
Subscribe For Newsletters
Not just newsletters, but you may enjoy free vouchers, coupons, activity deals and many others while subscribing…


